


About Recipes Restaurants FAQ My Kitchen My Kitchen

Thursday, February 11, 2010

A Study in White: Coconut Cake

barefoot-contessa-coconut-cake (26)

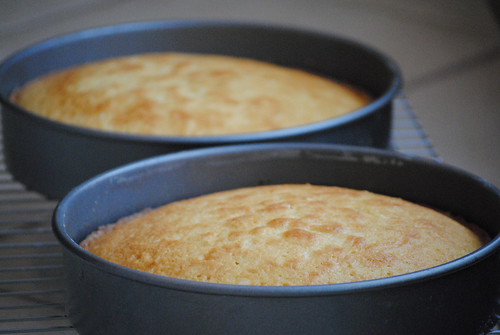
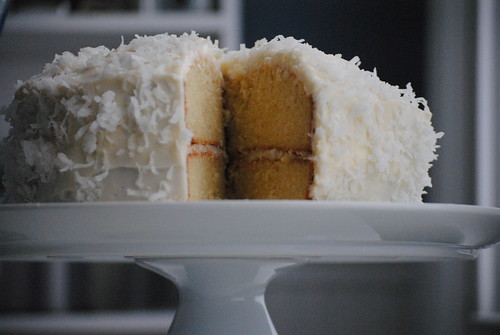
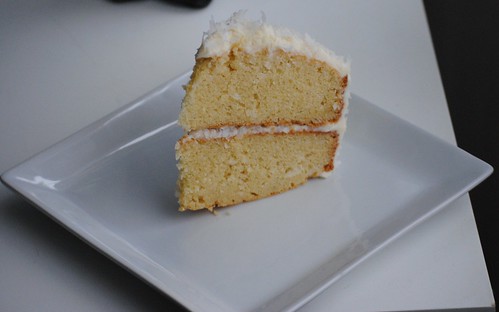
barefoot-contessa-coconut-cake (3)As a blizzard blasts the east, it's no surprise I have white on my mind. Wet snow clings to every tree and just when it appears to slow, another blast of snow falls. The only vehicles on my road today have been plows (and my poor husband leaving for work).  It's supposed to continue into the night, so Jeff will be firing up the snowblower when he gets home. To be sure snow isn't the only white he sees, I decided to whip up Ina Garten's Coconut Cake. Much more comforting than any snowstorm, this cake is flavored with vanilla and almond extracts, as well as plenty of coconut. The cream cheese frosting adds another layer of flavor... and whiteness!

This recipe appears in Barefoot Contessa At Home. Find her original Coconut Cupcakes in her first cookbook. Whether you go for bite-sized or the whole shebang, this is a delicious cake - moist, flavorful and all-around satisfying. Perhaps a mug of hot cocoa on the side...? We shall see...
barefoot-contessa-coconut-cake (7)
As you might guess, I made a few modifications. I added a bit more almond extract to the frosting and reduced the butter to 1 1/2 sticks. I also reduced the amount of powdered sugar - I used about 2/3 pound. I added a bit at a time until it got to the consistency and sweetness I like. I had more than enough to frost the cake - I actually had about 1/2 cup leftover. Oh! Watch the cooking time for the cakes. Mine were done after 40 minutes. I'd start with 35 minutes or so and see how they're doing. These cakes are dense so you really don't want them dry (I used dark metal non-stick Calphalon cake pans).

Coconut Cake
From Barefoot Contessa at Home, by Ina Garten
also available on foodnetwork.com
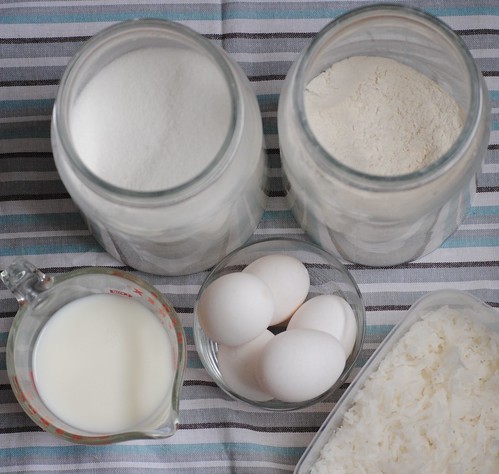
  • 3/4 pound (3 sticks) unsalted butter, at room temperature, plus more for greasing the pans
  • 2 cups sugar
  • 5 extra-large eggs, at room temperature
  • 1 1/2 teaspoons pure vanilla extract
  • 1 1/2 teaspoons pure almond extract
  • 3 cups all-purpose flour, plus more for dusting the pans
  • 1 teaspoon baking powder
  • 1/2 teaspoon baking soda
  • 1/2 teaspoon kosher salt
  • 1 cup milk
  • 4 ounces sweetened shredded coconut
For the frosting:
  • 1 pound cream cheese, at room temperature
  • 1/2 pound (2 sticks) unsalted butter, at room temperature
  • 3/4 teaspoon pure vanilla extract
  • 1/4 teaspoon pure almond extract
  • 1 pound confectioners' sugar, sifted
  • 6 ounces sweetened shredded coconut
barefoot-contessa-coconut-cake (10)
Directions

Preheat the oven to 350 degrees F. Grease 2 (9-inch) round cake pans, then line them parchment paper. Grease them again and dust lightly with flour.

In the bowl of an electric mixer fitted with a paddle attachment, cream the butter and sugar on medium-high speed for 3 to 5 minutes, until light yellow and fluffy. Crack the eggs into a small bowl. With the mixer on medium speed, add the eggs 1 at a time, scraping down the bowl once during mixing. Add the vanilla and almond extracts and mix well. The mixture might look curdled; don't be concerned.

In a separate bowl, sift together the flour, baking powder, baking soda and salt. With the mixer on low speed, alternately add the dry ingredients and the milk to the batter in 3 parts, beginning and ending with dry ingredients. Mix until just combined. Fold in the 4 ounces of coconut with a rubber spatula.

Pour the batter evenly into the 2 pans and smooth the top with a knife. Bake in the center of the oven for 45 to 55 minutes, until the tops are browned and a cake tester comes out clean. Cool on a baking rack for 30 minutes, then turn the cakes out onto a baking rack to finish cooling.

For the frosting, in the bowl of an electric mixer fitted with a paddle attachment, combine the cream cheese, butter, vanilla and almond extract on low speed. Add the confectioners' sugar and mix until just smooth (don't whip!).

To assemble, place 1 layer on a flat serving plate, top side down, and spread with frosting. Place the second layer on top, top side up, and frost the top and sides. To decorate the cake, sprinkle the top with coconut and lightly press more coconut onto the sides. Serve at room temperature.
barefoot-contessa-coconut-cake (19)

Monday, February 8, 2010

Another winner from Chef Keller: Chicken Mar Y Muntanya

I think I'm in love... with a cookbook.

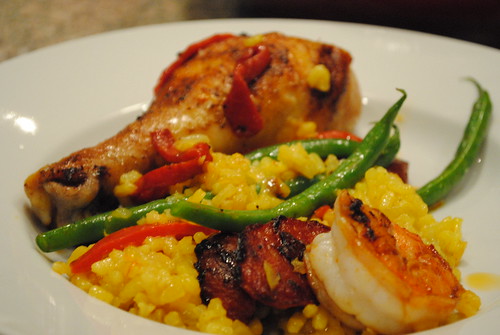
It's rare that my husband raves about a chicken dish. We like chicken, but it seldom gets the comment, "This is one of the best dinners you've ever made." Saturday night, I once again turned to Chef Keller's ad Hoc at Home and my husband sang the chef's praises throughout the meal. He's even looking forward to leftovers tonight!

thomas-keller-chicken-paella (2)

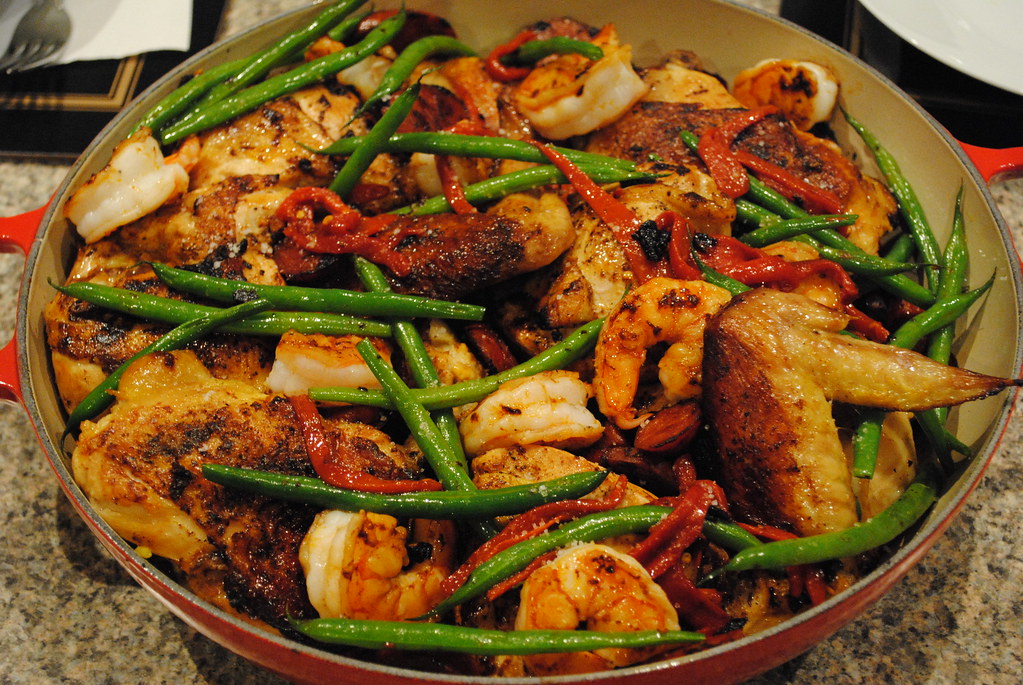
Full of big Spanish flavors, this is a great winter meal - it'd be a sure winner for a dinner party. I stuck pretty close to Keller's recipe. I couldn't get Piment d'Espelette in time, so I used a little cayenne and a little smoked paprika. I also left out the mussels since my husband is allergic to them. I did have piquillo peppers (go figure!), but a roasted red pepper would make a fine substitution. You could also add lobster, clams or veggies other than green beans and it would taste great.

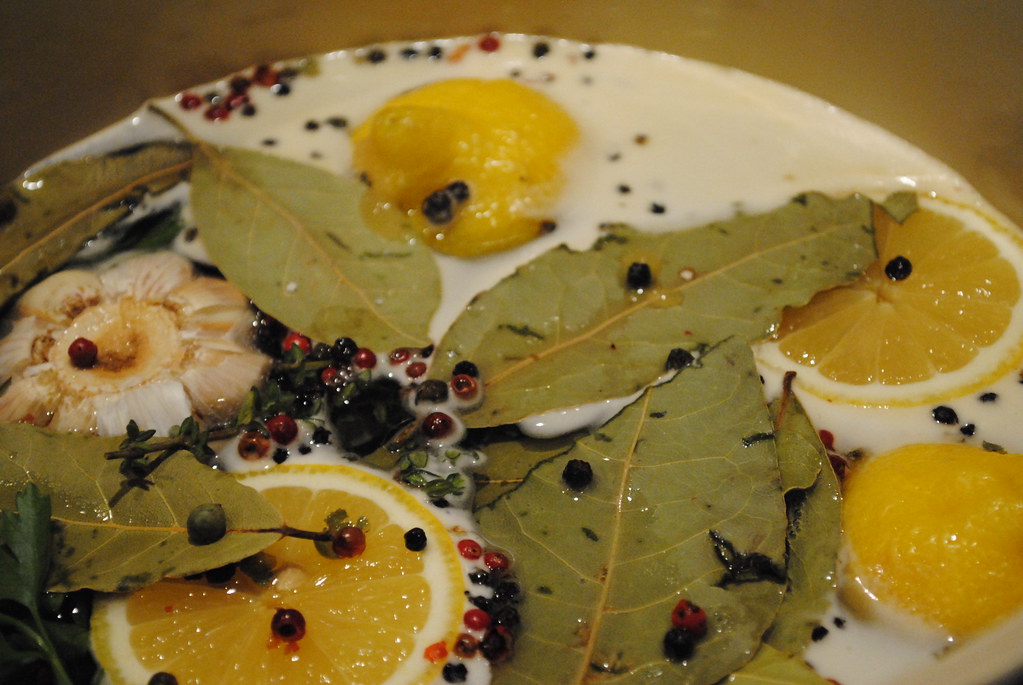
My one caution (which I rarely heed myself) is read the recipe all the way through before you start. Brining the chicken gives it amazing flavor and keeps it deliciously moist, but you need to do some advance work to make the brine, cool it and then soak the chicken for 12 hours. I halved the rice recipe, but with all the leftover chicken, I may need to make some more. Also, my chicken took longer to cook - it was a little bigger than 4 pounds, so just be sure you cook it thru!

Note well: For some of teh Spanish ingredients, look on La Tienda. Piment d'Espelette can be found on amazon. And my all-time favorite chorizo is d'Artagnan.

thomas-keller-chicken-paella (13)

Chicken Mar i Muntanya
with shrimp, mussels, green beans, piquillo peppers, and chorizo
From Ad Hoc at Home, by Thomas Keller
  • One 4-pound chicken
  • 1/2 recipe Chicken brine (see below), cold
  • 12 extra-large shrimp (12-15 count), shells on
  • Kosher salt and freshly ground pepper
  • Piment d'Espelette
  • Canola oil
  • Saffron rice (see below), warm
  • 4 piquillo peppers, cut lengthwise into 1/4-inch-wide strips
  • 1 cup thin green beans (haricots verts), blanched
  • 1/2 cup chicken stock, warm
  • 1 Spanish chorizo sausage (about 4 ounces), cut into 1/4-inch-thick slices
  • 1/4 cup dry white wine, such as Sauvignon Blanc
  • 18 small mussels, preferably Bouchot or PEI (I didn't add these, but feel free!)
  • Flat-leaf parsley leaves
  • Fleur de Sel 
Cut the chicken into 10 pieces. Pour the brine into a container large enough to hold the chicken, add the chicken, and refrigerate for about 12 hours (no longer, or the chicken may become too salty).

Preheat the oven to 400F.

Remove the chicken from the brine and rinse under cold water, removing any herbs or spices sticking to the skin. Pat dry with paper towels, or let air dry. Set aside.

Without removing the shells, using a small pair of scissors or a paring knife, make a shallow cut down the back of each shrimp from head to tail. Gently open up the shrimp and, with your fingers or the paring knife, remove the vein. Rinse the shrimp under cold water.

Combine 4 cups water and 1/2 cup plus 2 tablespoons salt in a medium bowl and stir to dissolve the salt. Add the shrimp to the brine and let stand at room temperature for 10 minutes. Remove from the brine, rinse, and drain on paper towels.

Season the chicken with salt, pepper, and a sprinkling of Espelette. Heat some canola oil in a large frying pan over medium-high heat. Add the dark meat skin-side-down, lower the head to medium-low, and cook until the skin is a rich golden brown and crisp, about 8 minutes. (If you turn the chicken too early, more moisture will be released from the meat and you will not get the crisp caramelized surface you are looking for.) Turn the pieces and brown for another 6 minutes, or until golden brown on the second side. Remove from the heat, transfer the dark meat to a plate, and set aside.

Return the pan to medium-high heat and add more oil as needed. Add the breasts skinside-down and cook until the skin is crisp and golden brown, about 8 minutes. Turn the chicken and cook for about 5 minutes, until almost cooked through. Remove from the heat.

Spread the rice in the bottom of a large heatproof serving dish or baking dish. Arrange half the piquillos and half the green beans over the rice. Tuck the dark meat and the breasts into the rice, pour the stock over the ingredients, and put the dish in the oven.

Heat some oil over medium heat in a frying pan large enough to hold the mussels in one layer. Add the chorizo and cook until browned and crisp on the edges, 2 to 3 minutes. Transfer the chorizo to a plate and pour off the excess fat, leaving just a coating in the pan. Add the shrimp to the pan and sauté until just cooked through, 1 1/2 to 2 minutes per side. Transfer the shrimp to a plate.

Add the wine to the pan, bring to a boil, and boil for 30 seconds. Add the mussels, cover the pan, and cook until the mussels have opened, 2 to 3 minutes. Remove from the heat.

Arrange the chorizo, shrimp, and mussels in the baking dish; set aside in a warm spot.

Return the frying pan to the heat, add the remaining peppers and green beans, and heat through. Arrange them over the chicken and shellfish, garnish with parsley leaves, and sprinkle with fleur de sel.

SERVES 6

thomas-keller-chicken-paella (4)

Chicken Brine
  • 5 lemons, halved
  • 24 bay leaves
  • 1 bunch (4 ounces) flat-leaf parsley
  • 1 bunch (1 ounce) thyme
  • ½ cup clover honey
  • 1 head garlic, halved through the equator
  • ¼ cup black peppercorns
  • 2 cups (10 ounces) kosher salt, preferably Diamond Crystal
  • 2 gallons water
Combine all the ingredients in a large pot, cover, and bring to a boil. Boil for 1 minute, stirring to dissolve the salt. Remove from the heat and cool completely, then chill before using. The brine can be refrigerated for up to 3 days.

thomas-keller-chicken-paella (6)

Saffron Rice
  • ¼ cup canola oil
  • ¾ cup finely chopped onion (cut just smaller than a grain of cooked rice)
  •  Kosher salt
  • 1 teaspoon saffron threads
  • 2 cups (about 14 ounces) short-grain rice, preferably Calasparra
  • 2 ¾ to 3 ½ cups chicken stock or vegetable stock
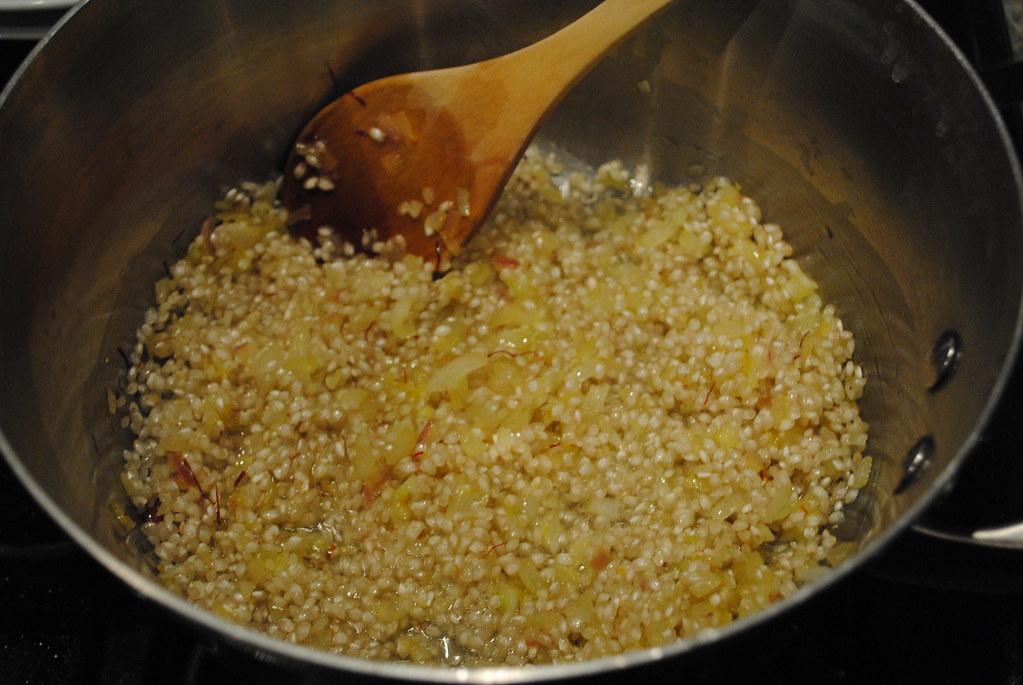
Heat the oil in a large sauté pan over medium heat until hot. Add the onion and season with a sprinkling of salt. Reduce the heat and cook gently for 3 minutes. Add the saffron. Reduce the heat to very low, and cook for another 2 minutes; do not brown the onions and saffron. Add the rice and cook over medium heat, stirring often, to toast the rice for 1 to 2 minutes.
Add 2 ½ cups of the stock, stir once, scraping the sides of the pan if necessary, and cover with a parchment lid (see page 120). Bring the stock to a simmer and simmer, adjusting the heat as necessary, for about 8 minutes, until most of the stock has been absorbed. The rice will still be firm. Gently stir the rice, scraping it up from the bottom, and reduce the heat to very low. Add an additional ¼ cup of stock, cover with the lid, increase the heat, and bring to a simmer. Simmer for about 3 minutes, until the stock is absorbed. Taste the rice and, if necessary, continue cooking, adding up to ¾ cup more stock ¼ cup at a time, as necessary, until the rice is almost tender and the final addition of liquid is almost absorbed. Turn the heat to low to allow the rice to absorb the remaining liquid, stirring occasionally. Season with salt and serve hot.

Thursday, February 4, 2010

Best. Brownies. Ever.

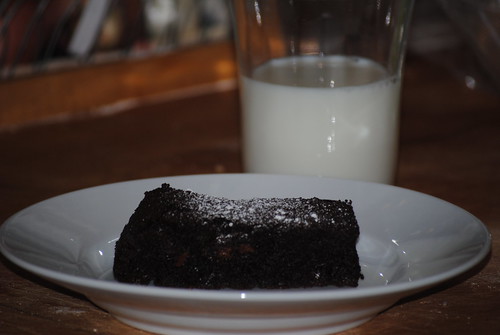
Two words: Thomas Keller. For those familiar with the man who's arguably the greatest chef in America, it should come as no surprise that I've titled this post as I have. For those unfamiliar with him, consider these brownies a tasty introduction. Rich, fudgy, and simply divine, I'll never make another brownie recipe again. 

brownies (1)

This recipe appears in Chef Keller's latest cookbook: Ad Hoc at Home. I was fortunate enough to meet the chef at a book signing in November; he's friendly and encouraging to cooks of all skill levels. If you're intimidated by The French Laundry, check out this book. This recipe alone is worth it.

A couple of notes on the recipe: I used a glass pan and I dusted it with cocoa instead of flour to avoid any white on the outside of my brownies. (And really, why not add more cocoa?) I also had to bake them quite a bit longer than 45 minutes so have your cake tester ready. Finally, alkalized cocoa may sound unusual, but I was happy to find that the cocoa I had in my pantry from Penzey's was alkalized. So check your label. Finally, I didn't have 61% to 64% chocolate on hand so I use 3 ounces 67% and 3 ounces semi-sweet.

Now quit reading and make these brownies. (Get a glass of cold milk ready, too.)

brownies (2)

Brownies
from Ad Hoc at Home by Thomas Keller

3/4 cup all-purpose flour
1 cup alkalized cocoa powder
1 tsp. Kosher salt
3/4 pound unsalted butter, cut into 1 Tbsp pieces
3 large eggs
1 3/4 cups sugar
1/2 tsp. vanilla paste or extract
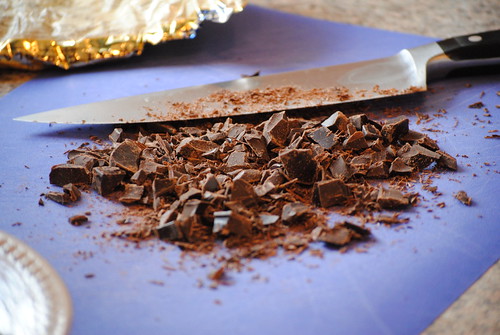
6 ounces 61% to 64% chocolate, chopped into chip-sized pieces
Powdered sugar for dusting

Preheat oven to 350F. Butter and flour a 9-inch baking pan (Chef Keller recommends silicone, but glass or metal will work fine.) Set aside.

Sift together flour, cocoa powder and salt; set aside.

Melt half the butter in a small saucepan over medium heat, stirring occasionally. Put the remaining butter in a medium bowl. Pour the melted butter over the bowl of butter and stir to melt the butter. The butter should look creamy, with small bits of unmelted butter, and be at room temperature.

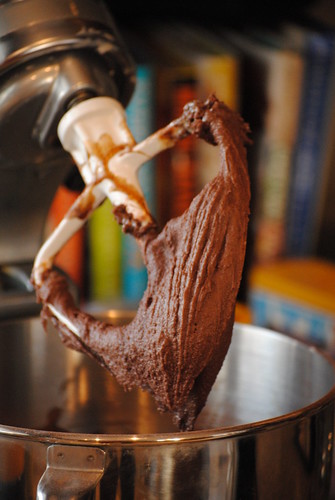
In the bowl of a stand mixer fitted with the paddle, mix together the eggs and sugar on medium speed for about 3 minutes, or until thick and very pale. Mix in the vanilla. On low speed, add about 1/3 of the dry ingredients, then 1/3 of the butter, and continue alternating the remaining flour and butter. Add the chocolate and mix to combine. (The batter can be refrigerated for up to 1 week.)

Spread the batter evenly in the pan. Bake for 40-45 minutes, until a cake tester or wooden skewer poked into the center comes out with just a few moist crumbs. If the pick comes out wet, test a second time, because you may have hit a chocolate chip: then bake for a few minutes longer if necessary. Cool in the pan until the brownies are just a bit warmer than room temperature.

Run a knife around the edges if not using a silicone mold and invert onto a cutting board. Cut into 12 rectangles. Dust the top with powdered sugar just before serving.

brownies

Wednesday, February 3, 2010

A good day for soup: Mom's Ham and Corn Chowder

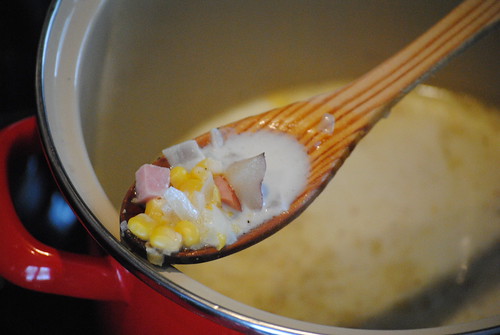
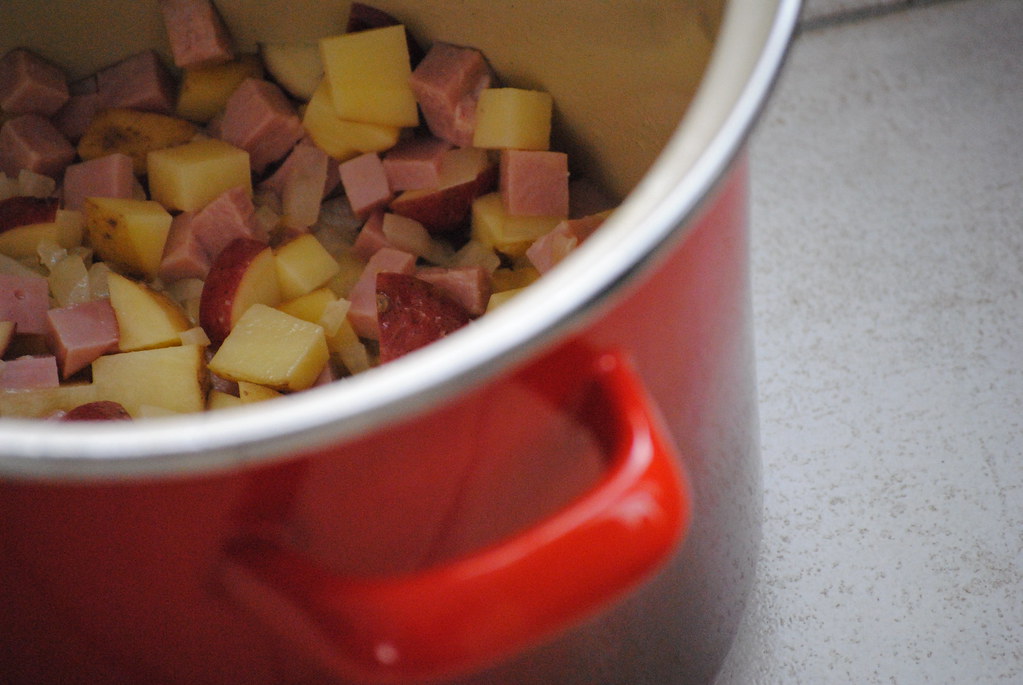
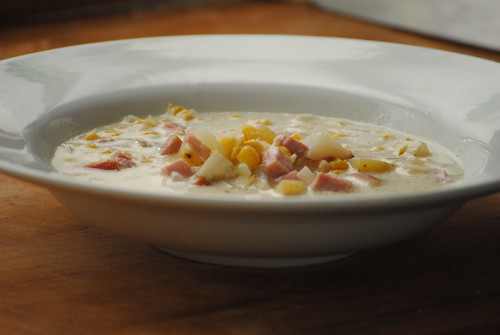
I awoke this morning to a couple inches of fresh snow. It didn't last long but it looked beautiful clinging to the trees. It was perfect weather for a nice hardy, rustic soup. Mom's Ham and Corn Chowder would be perfect! This soup is really easy - chopped onions, potatoes, and ham combined with canned corn, stock and cream. It will warm you up for sure.

chowder-4 (2)

I used new potatoes so I left the skins on to make it even easier. I also cut the recipe in half. It still makes a good sized batch, plenty for two of us and a cup for Dad. (We trade food - he brought fresh fish from Massachusetts, I gave him soup!) Finally, I used 1 cup of half and half and one cup of 2% milk to cut the fat a bit. It still tastes fantasic!

chowder-4 (3)

Ham and Corn Chowder

1 large onion, chopped
1 stick of butter (8 Tbsp.)
5 large potatoes peeled and diced
1 thick ham slice, diced
2 15 oz. cans of creamed corn (preferably Green Giant)
2 12 oz. cans of corn, drained
4 c. chicken stock
4 c. half & half


chowder-4 (1)

In a large pot, melt butter. Add onion and sauté until clear. Add potatoes and ham a sauté 3 minutes. Add broth and simmer until potatoes are soft. Add creamed corn and drained corn. Add half & half and salt and pepper to taste.

chowder-4

Thursday, January 28, 2010

This week's soup: Butternut Squash Bisque with a Thai kick!

On a recent trip to the market, I found a beautiful butternut squash for $1! Into my bag it went and I had just the recipe in mind. A couple years ago, Bon Appetit published a recipe for Curried Butternut Squash Bisque. I've since made it on numerous occasions and I pass the recipe out to friends frequently. Easy to make, it's even faster if you have a stick blender. The spice from the Thai curry paste gives it a little heat to add even more warmth on cool days. (Fear not, the sweetness of the squash balances the heat of the curry.) Even without the curry paste, this would make a great butternut squash bisque.

Curried Butternut Squash Bisque
adapted from Bon Appetit


  • 1 4-pound butternut squash
  • 2 teaspoons olive oil
  • 1 Tbsp. butter
  • 1 Tbsp. olive oil
  • 1 1/2 cups chopped onion
  • 1 cup chopped carrots
  • 1 apple, peeled and chopped
  • 2-4 tsp. Thai curry paste, preferably red
  • 3 14-oz. cans low sodium chicken broth, or 6 cups homemade
  • 2 bay leaves
  • 1/4 cup heavy cream (optional)
  • 2 tsp. honey
  • Fresh chopped cilantro, to garnish

Preheat oven to 375F. Cut the squash in half lengthwise and remove the seeds. Brush both sides with olive oil, then place, cut side down, on a rimmed baking sheet. Roast for 1 hour. Remove and allow to cool slightly. Once cool enough to handle, scoop out the squash and discard the skins. You should have about 4 cups.

Melt butter with 1 Tbsp. olive oil in a large pot. Add the onion, carrots and apple and cook about 5 minutes. Add the curry paste, stir, and cook another 2 minutes. Add the squash, bay leaves and stock. Stir and bring to a boil. Reduce the heat and simmer uncovered for about an hour.

Remove the bay leaves. Puree the soup using a stick blender or in a blender or food processor. Return to the pot and stir in the cream, if using, and the honey. Season to taste with salt.

Serve warm, garnished with fresh chopped cilantro.

Monday, January 25, 2010

Banh Mi - Oh my!

There are two things about me that I have to share before I start this post: 1) I LOVE Vietnamese food; 2) I am a junkie for food magazines but I rarely make the recipes in them. If you share either of these characteristics with me, read on!

It's true. I devour my monthly food magazines. I tear out recipes I want to try and then... well, they pile up in various places all over my house. Usually that's about it. (I know there are a lot of you just like me!). But I was reading the January Bon Appetit recently and eagerly tore out a recipe for Pork meatball Banh Mi. It appeared in a meatball article which I expected to be full of Italian classics. I was pleasantly surprised when I found this one and the photo looked good enough to eat. I decided to make it that very weekend.


The complete recipe is below, straight from epi. I left off the jalapenos (my mayo was zippy enough). One thing very worth noting is that the meatball mix and mayo can be made a day ahead. I was making this for lunch so saving some time in the morning was a huge plus. Also, I'd recommend Thai basil if you can find it. If not, no biggie - I only had regular and it tasted great, but the flavor would have been just a little more authentic with the Thai variety.

My husband and I devoured these and decided they'd make a delicious app too - pop a meatball, some of the quick pickled daikon and carrot, and a little of the mayo into a lettuce cup for a nice quick nibble. (OK, now I want some...)

By the way, Banh Mi can be made lots of different ways - if you have another variety you like, please leave a comment. I'd love to try some others!

W
ithout any further ado, my first recipe of 2010. It's a real winner.

Pork Meatball Banh Mi
Recipe from Bon Appetit, January 2010, also on epicurious

Hot Chili Mayo:

  • 2/3 cup mayonnaise
  • 2 green onions, finely chopped
  • 1 tablespoon hot chili sauce (such as sriracha)*

Meatballs:

  • 1 pound ground pork
  • 1/4 cup finely chopped fresh basil
  • 4 garlic cloves, minced
  • 3 green onions, finely chopped
  • 1 tablespoon fish sauce (such as nam pla or nuoc nam)*
  • 1 tablespoon hot chili sauce (such as sriracha)
  • 1 tablespoon sugar
  • 2 teaspoons cornstarch
  • 1 teaspoon freshly ground black pepper
  • 1 teaspoon coarse kosher salt

Sandwiches:

  • 2 cups coarsely grated carrots
  • 2 cups coarsely grated peeled daikon (Japanese white radish)**
  • 1/4 cup unseasoned rice vinegar
  • 1/4 cup sugar
  • 1 teaspoon coarse kosher salt
  • 1 tablespoon Asian sesame oil
  • 4 10-inch-long individual baguettes or four 10-inch-long pieces French-bread baguette (cut from 2 baguettes)
  • Thinly sliced jalapeño chiles
  • 16 large fresh cilantro sprigs
Hot Chili Mayo:Stir all ingredients in small bowl. Season with salt. Can be made 1 day ahead. Cover and chill.

Meatballs:Line rimmed baking sheet with plastic wrap. Gently mix all ingredients in large bowl. Using moistened hands and scant tablespoonful for each, roll meat mixture into 1-inch meatballs. Arrange on baking sheet. Can be made 1 day ahead. Cover and chill.

Sandwiches:Toss first 5 ingredients in medium bowl. Let stand at room temperature 1 hour, tossing occasionally.

Preheat oven to 300°F. Heat sesame oil in large skillet over medium-high heat. Add half of meatballs. Sauté until brown and cooked through, turning meatballs often and lowering heat if browning too quickly, about 15 minutes. Transfer meatballs to another rimmed baking sheet. Place in oven. Repeat with remaining meatballs.

Cut each baguette or baguette piece horizontally in half. Pull out enough bread from each bread half to leave 1/2-inch-thick shell. Spread hot chili mayo over each bread shell. Arrange jalapeños, then cilantro, in bottom halves. Fill each with 1/4 of meatballs. Drain pickled vegetables; place atop meatballs. Press on baguette tops.

*Available in the Asian foods section of many supermarkets and at Asian markets.
**Available at some supermarkets and at Asian markets.

Wednesday, January 20, 2010

Restaurant review: Brasa Grille

After a break of a couple of months, Ladyberd's Kitchen is back in business. I'll save my excuses for another post. But first, I have to tell you about this little gem of a restaurant...

Tucked in the corner of Hickory Square Mall in Chatham, this family-run Portuguese restaurant serves up food that'll knock your socks off (perhaps its the garlic!). With a few seats at the granite bar facing the open kitchen and a handful of tables, be sure to call ahead for a reservation. Upon entering, you'll be greeted by Claudio or one of his family. Fresh bread and olives are brought to every table and you'll find deliciously fruity Portuguese Extra Virgin Olive oil for dipping.

Don't fill up on bread though! I went on a Tuesday evening with one of my girlfriends. As we perused the menu, we were informed of the daily specials: grilled whole red snapper or Chilean Sea bass fillet. We both chose items from the regular menu. To start we shared an order of clams with cilantro and garlic sauce. A dozen or so clams came in a pot with a light sauce loaded with cilantro and garlic. (Note: now would be a good time for the bread!) We soaked up the sauce with some of the bread and already swore we'd come back - even if only for those clams!
Our main dishes gave us more reason for a return visit. I opted for my favorite Portuguese dish: Carne de Porco Alentejana, or pork and clams. I was served an entire pot of chunks of tender, marinated pork and browned potatoes in a cilantro sauce. Five clams completed the dish. Lighter than any pork and clams I've ever had, it was full of flavor. Some pickled vegetables lend just the right amount of acidity to this hearty dish. I ate about a third of it and had to have the rest wrapped up to take home.
My friend chose the Bitoque, a grilled shell steak topped with fresh ham, a fried egg and their special grilling sauce. A pile of homemade potato chips came on the side. Ordered medium, the steak had a warm pink center and was another very sizable portion. The egg looked perfectly cooked with a bright yellow runny yolk.
A glance around proved that all the portions are huge - paella looked big enough to serve at least two (or one with lots leftover - even better!).
All in all, friendly service and delicious, fresh Portuguese food put Brasa Grille on the list of restaurants I'll visit again and again. If you're looking for good Portuguese, give it a try - it's a lot easier to park than in the Ironbound district of Newark... And as I told the owner: it's as good as any Portuguese food I had in Lisbon!

Brasa Grille on Urbanspoon
Related Posts with Thumbnails