


There's one thing for sure: my freezer is stocked: sauces, chili, burgers, quick meals. (So the blogging may suffer for a bit...) Last time around, I didn't take this step. I thought I'd have time to cook - silly, silly, delusional me.
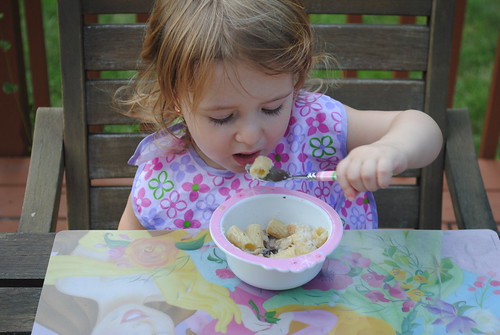
I'm still working but my last meeting ends in 90 minutes. Come 5 o'clock, I'm off til the New Year. Seems far off, but it'll no doubt fly by as I watch little peanut grow and grow and spend some extra time with big sister.
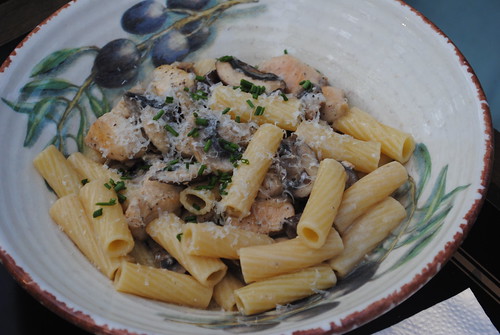
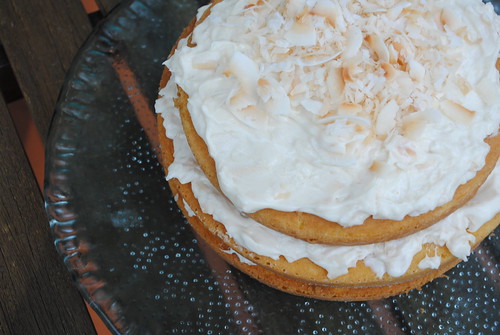
Hopefully I'll be back in the kitchen soon. In the meantime, here's a new favorite that sounds difficult but is actually pretty east to make. Excuse the less than stellar photos...
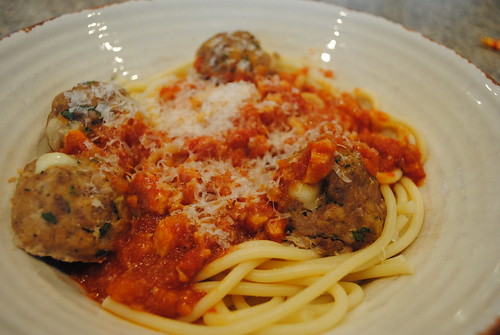
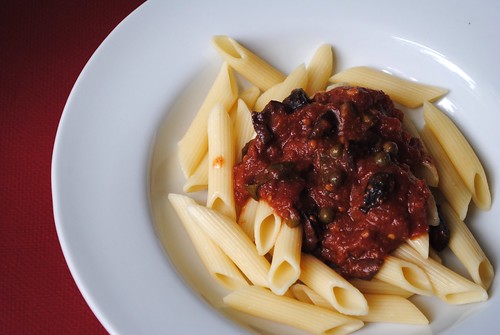
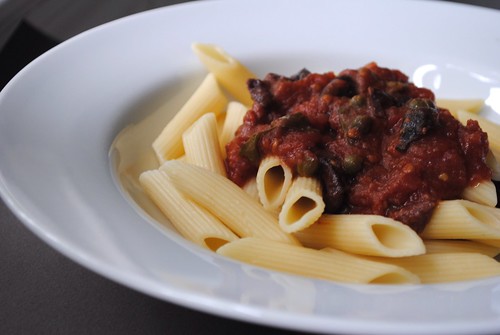
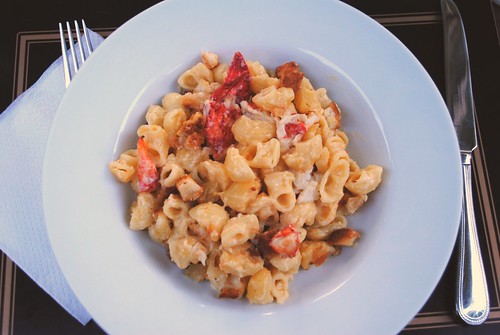
Bucatini All'Amatriciana with Spicy Smoked Mozzarella Meatballs
Adapted from Giada at Home by Giada de Laurentiis
All'Amatriciana Sauce:
2 tablespoons olive oil
6 ounces pancetta, diced
1 yellow onion, finely chopped
2 garlic cloves, minced
Pinch crushed red pepper flakes
1 (14-ounce) can crushed tomatoes
1/2 teaspoon kosher salt, plus more for seasoning
1/2 teaspoon freshly ground black pepper, plus more for seasoning
1/2 cup grated Pecorino Romano
Meatballs:
1 small (6-ounce) onion, grated
1/2 cup chopped fresh flat-leaf parsley, plus 1/4 cup
2/3 cup grated Parmesan cheese, plus 1/4 cup
1/3 cup Italian-style bread crumbs
1 large egg
2 tablespoons ketchup
3 garlic cloves, minced
1/4 teaspoon crushed red pepper flakes
1 teaspoon kosher salt, plus more for seasoning
1/2 teaspoon freshly ground black pepper, plus more for seasoning
8 ounces ground beef
8 ounces ground veal
2 ounces smoked mozzarella cheese, cut into 16 (1/2-inch) cubes
1 pound bucatini or other long pasta
For the sauce: In a large heavy skillet, heat the oil over medium heat. Add the pancetta and cook, stirring constantly, until golden brown, about 5 to 7 minutes. Using a slotted spoon, remove the pancetta and reserve. Add the onion and cook for 5 minutes. Stir in the garlic and red pepper flakes and cook until fragrant, about 30 seconds. Add the tomatoes, 1/2 teaspoon salt, 1/2 teaspoon black pepper, and the cooked pancetta. Simmer, uncovered, over medium-low heat until the sauce thickens, about 15 minutes. Stir in the cheese and season with salt and pepper, to taste.
For the meatballs: Position an oven rack in the lower 1/3 of the oven. Preheat the oven to 400 degrees F. Line a baking sheet with parchment paper.
In a large bowl, combine the onion, 1/2 cup parsley, 2/3 cup Parmesan, bread crumbs, egg, ketchup, garlic, red pepper flakes, 1 teaspoon salt, and 1/2 teaspoon pepper. Add the beef and veal. Using your hands, combine all ingredients gently but thoroughly. Shape the meat mixture into 16 (1 1/2-inch-diameter) meatballs and place on the prepared baking sheet. Make a hole in the center of each meatball and place a cube of mozzarella inside. Reform the meatball so that the mozzarella is completely covered with the meat mixture. Bake the meatballs for 15 minutes until cooked through.
Bring a large pot of salted water to a boil over high heat. Add the pasta and cook until tender but still firm to the bite, stirring occasionally, about 8 to 10 minutes. Drain and place in a large serving bowl. Add the meatballs and sauce. Toss gently and season with salt and pepper, to taste. Sprinkle with the remaining parsley and Parmesan.